If you’re planning on upgrading your living space such that it not only improves the quality and comfort of living but also has a significant impact on the market value of your home, you should consider remodeling your bathroom.
Completely remodeling your bathroom can be insanely costly, which is why we‘ve come up with the most practical way to go about it.
Is there a bathtub in your bathroom that you rarely use? Is your bathtub caked with layers of mildew?
If that’s the case, the wisest thing to do is get rid of it!
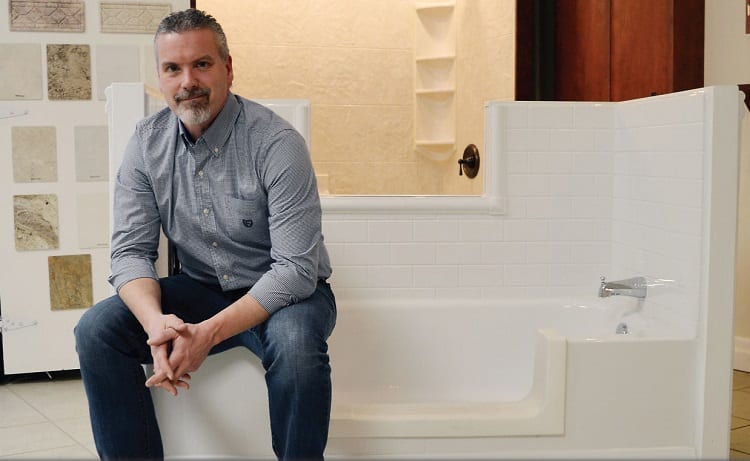
Getting rid of your old bathtub makes room for a walk-in shower that looks more modern, stylish, and even makes your bathroom look larger.
Bathtubs take up a lot of space – space that can be put to better use.
If you’re intrigued by the idea of a tub to shower conversion, this step by step guide is just what you need!
Is It Possible To Convert The Tub To The Shower?
Now, the first thing you’re probably thinking is, “Is this even possible?”
Yes, yes, it is! It is possible to upgrade your bathroom to a more modern and highly functional model without having to spend huge sums of money.
A tub to shower conversion is a straightforward project where all you need to do is pull the bathtub out of your bathroom and install necessary shower fixtures.
Once that’s done, you’re good to go.
How to Do It?
Your dream of a luxurious shower doesn’t have to be a dream.
If you already have a vision of how you want your shower to be, but you aren’t sure where to begin and how to actually achieve the final walk-in shower, follow this step-by-step guide.
Converting a tub to shower is a straightforward, cost-effective, and value-adding project.
Following simple steps will help you achieve a bathroom just like you’ve envisioned.
Step 1: Decide the Size of the Shower
The first thing that you have to do is decide what the shower footprint will be.
If the dimensions of your bathtub are 60 inches by 30 inches (60” x 30”), you should consider choosing a shower stall that is more or less the same size as your bathtub.
Shower stalls are usually 60 inches in length and vary from 30 inches to 36 inches in width.
Choosing a shower stall that is close to the size of your bathtub is the best approach.
You won’t have to spend a fortune to repair the flooring and the walls since the shower stall will cover the footprint of your old bathtub.
However, if you want a square-shaped shower area, you’ll have to spend money to repair the walls and the floors.
Step 2: Secure Required Permits
Before you proceed with the bathroom upgrade, you need to check with your local authorities if you require any permits.
Many municipalities ask for a permit for tub to shower conversions.
To make sure you don’t get into trouble with the authorities in the future, you should ask about this part beforehand.
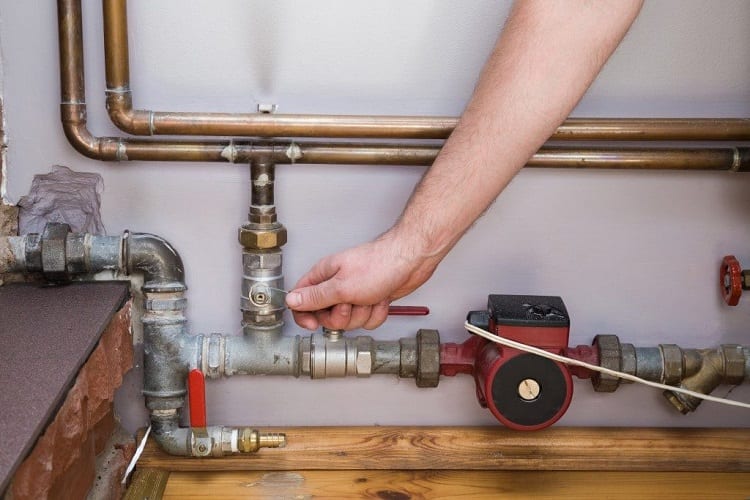
Step 3: Turn-Off the Water Supply

The last thing you want during your remodeling efforts is for your bathroom to get flooded.
Therefore, before detaching the bathtub from its respective spot, make sure that you turn off the water supply.
If there is an intermediary valve that shuts off the water supply, use it to cut off the supply to the tub.
If there is no intermediary valve, you have to shut off the main water supply of your home before you start working on the project.
Step 4: Remove the Bathtub Surround
Remove the tub surround using an oscillating multi-tool or a pry bar.
If the tub surround is ceramic tile, you’ll have to use a hammer and pry bar to chip the tiles off.
In case of a plastic surround, you’ll have to strip the surround off the studs, cement board, or drywall since the chances of it being glued to the substrate material are high.
Step 5: Remove the Bathtub
Bathtubs are usually secured in place by nuts and screws. Start by removing them so that the bathtub is no more attached to the wall.
Once all the screws are removed, tip the bathtub up from one side in order to remove it.
You might have to remove the portion of the drywall that is next to the tub area so that one of the tub’s outer corners can be accommodated as you swing it upwards.
Step 6: Clean the Area of Old Bathtub
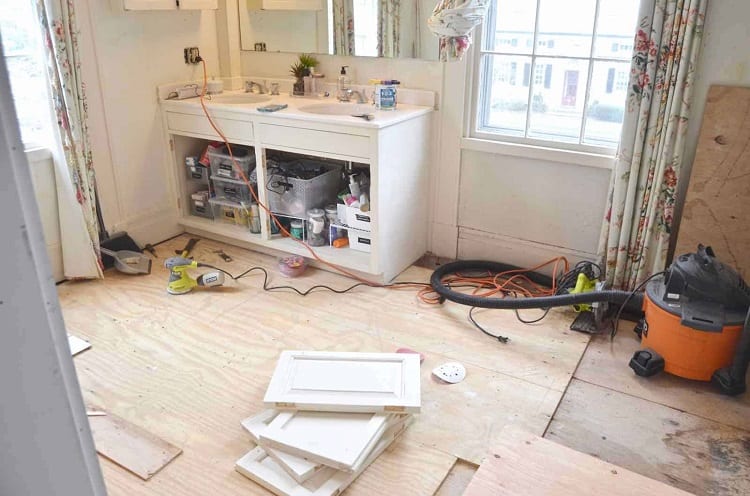
Now that you have removed the bathtub, you now need to clean the area thoroughly to get rid of any nuts, screws, or debris that resulted from peeling the surround off.
The area has to be perfectly tidy before you can move on to the next step.
Step 7: Repair Flooring and Studs

You’ll have to hire a carpenter for this step. When the bathtub is removed, joists, flooring, or studs may get exposed.
This needs to be fixed before you can install a shower pan over it.
Step 8: Installing Shower Controls and Shower Head
The water outlets and bathtub controls are positioned vertically at a low height that is suitable for bathtub use.
However, when you’re converting the tub to a shower, these controls and water outlets need to be positioned higher.
Generally, the body of the valve should be positioned at about 45 to 48 inches above the shower floor, with the showerhead centered at 78 inches.
Step 9: Evaluate Drain
If the bathtub drain is in good condition and in the right spot to suit the shower drain, you need not move it.
It might only need a bit of vertical adjustment, but that is just about it.
Step 10: Shower Pan Installation
To secure the shower pan in place, shower pans from different manufacturers come with varying specifications.
You might have to create a mortar bed for a solid base to make sure that your shower pan does not flex, or you might have to secure the shower pan with nuts and screws.
Whatever the specifications are, the shower pan must be secured to the floor as strongly as possible.
Step 11: Install Shower Surround

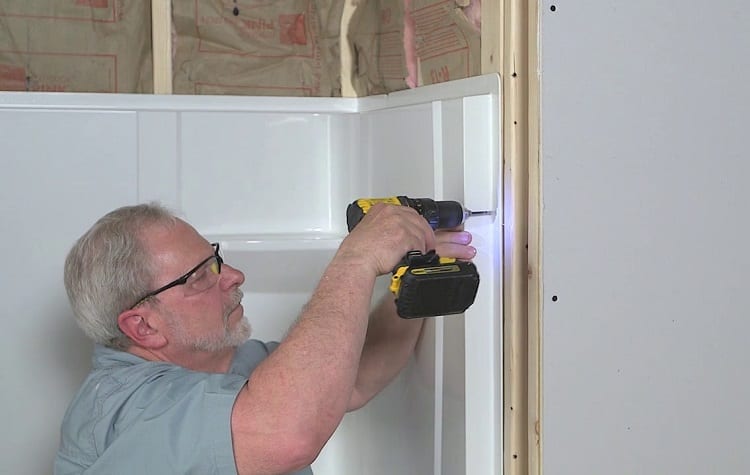
Once the shower pan is in place, the next step is to install shower surround panels.
You first have to install the shower surround panel of the wider side that forms the back panel.
The second surround panel to be installed is the side with no shower controls.
For the shower surround panel for the side that has the shower controls and shower head, you first have to drill holes in the panel for the controls and shower head before you install the panel on the wall.
The panels are secured to the caulk and studs between the seams directly.
Step 12: Install the Door to Shower Area
To complete your shower area, install a swing-type of a sliding-type door.
A shower area with a door gives the shower a cozier and a more private appearance!
Step 13: Install the Shower Head and Controls
Install the shower head and controls in the holes in surround panels that you drilled earlier.
Step 14: Turn-On the Water Supply
Now that everything is well in place, it is time to test your new shower.
Turn on the water supply and let the water run to ensure that the water is being drained out properly and that all the fixtures are working properly.
Useful Tips for Converting Tub to Shower

In order to make sure that your tub to shower replacement doesn’t fail in the long run, you need to take certain factors into consideration beforehand.
You certainly don’t want to tear out the new shower just because you weren’t mindful enough when you had to be.
- If you have only a single tub in the entire house, converting it into a shower isn’t recommended. Having no bathtub in the house results in a hit in your property’s market value.
- Opt for shower stall kit instead of going for a custom remodel. Shower stall kits can help you get a gorgeous shower at a much lower cost!
- If your tub is located just below a window, converting the area into a shower is a bad idea because obviously, nobody wants to have a window in their shower! Moreover, it makes way for serious mold growth, which might result in you having to tear out your new shower.
- Evaluate the condition of plumbing and get the fixtures replaced if needed before installing your shower.
- Check the subfloor and framing for signs of rot, mold, or mildew and get rid of them before building a shower area.
- Take the tub to shower conversion as an opportunity to upgrade your fixtures and valves to ones that offer better volume and temperature control.
Final Word
Performing a tub to shower conversion is an easy, straightforward, and very simple home upgrade project.
It adds to the value of your property and allows you to upgrade your home to modern standards at a reasonably low cost!
